How to Disassemble & Reassemble a Glock Magazine (Step-by-Step Guide)
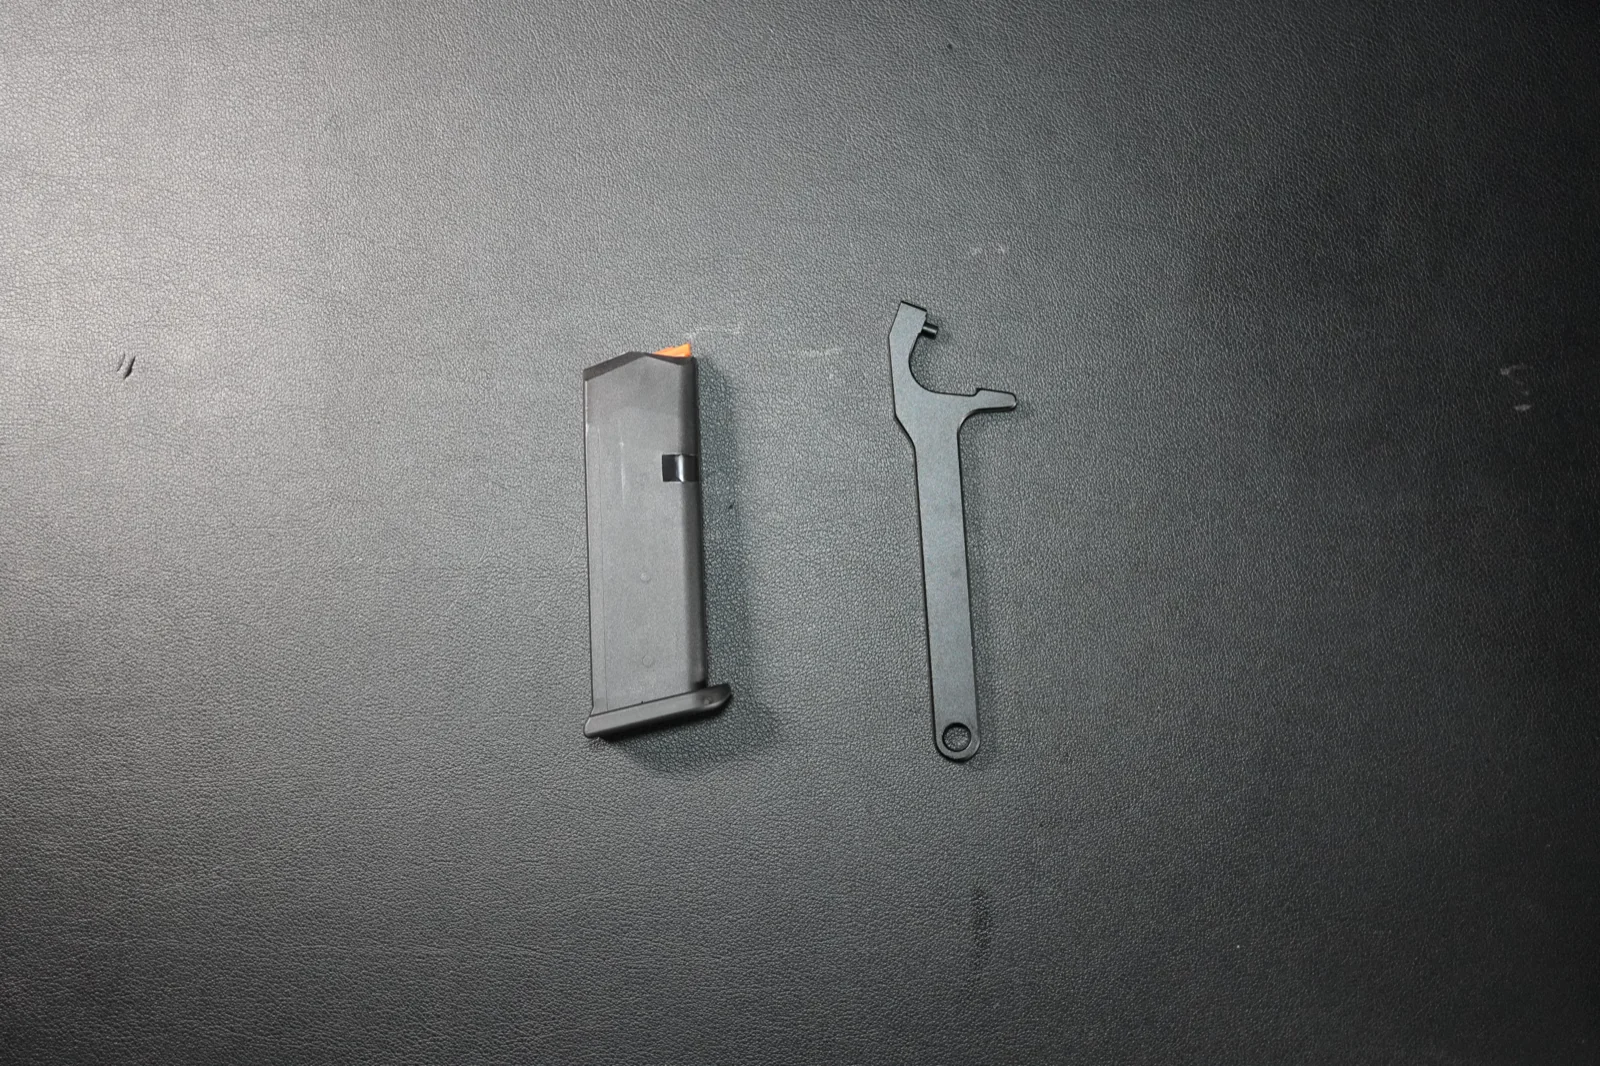
This guide covers field stripping a standard OEM double-stack Glock magazine — the type used in the Glock 17, Glock 19, and Glock 26. Slimline magazines (G43X, G48) and the .22 LR G44 magazine are built differently, so the same steps don't apply.
If you're also working on the pistol itself, see the companion Glock 19 field strip guide.
The 5 Magazine Parts You Need to Know
- Magazine body: the outer shell.
- Follower: the top piece that pushes cartridges upward.
- Magazine spring: the long spring inside the body.
- Insert / locking plate: the internal plate that locks the floor plate in place.
- Floor plate / base plate: the bottom piece you slide off to open the magazine.
Part 1: Unload and Set Up
Step 1. Make sure the magazine is empty and put on eye protection — we're working with a spring under tension.
Part 2: Disassembly
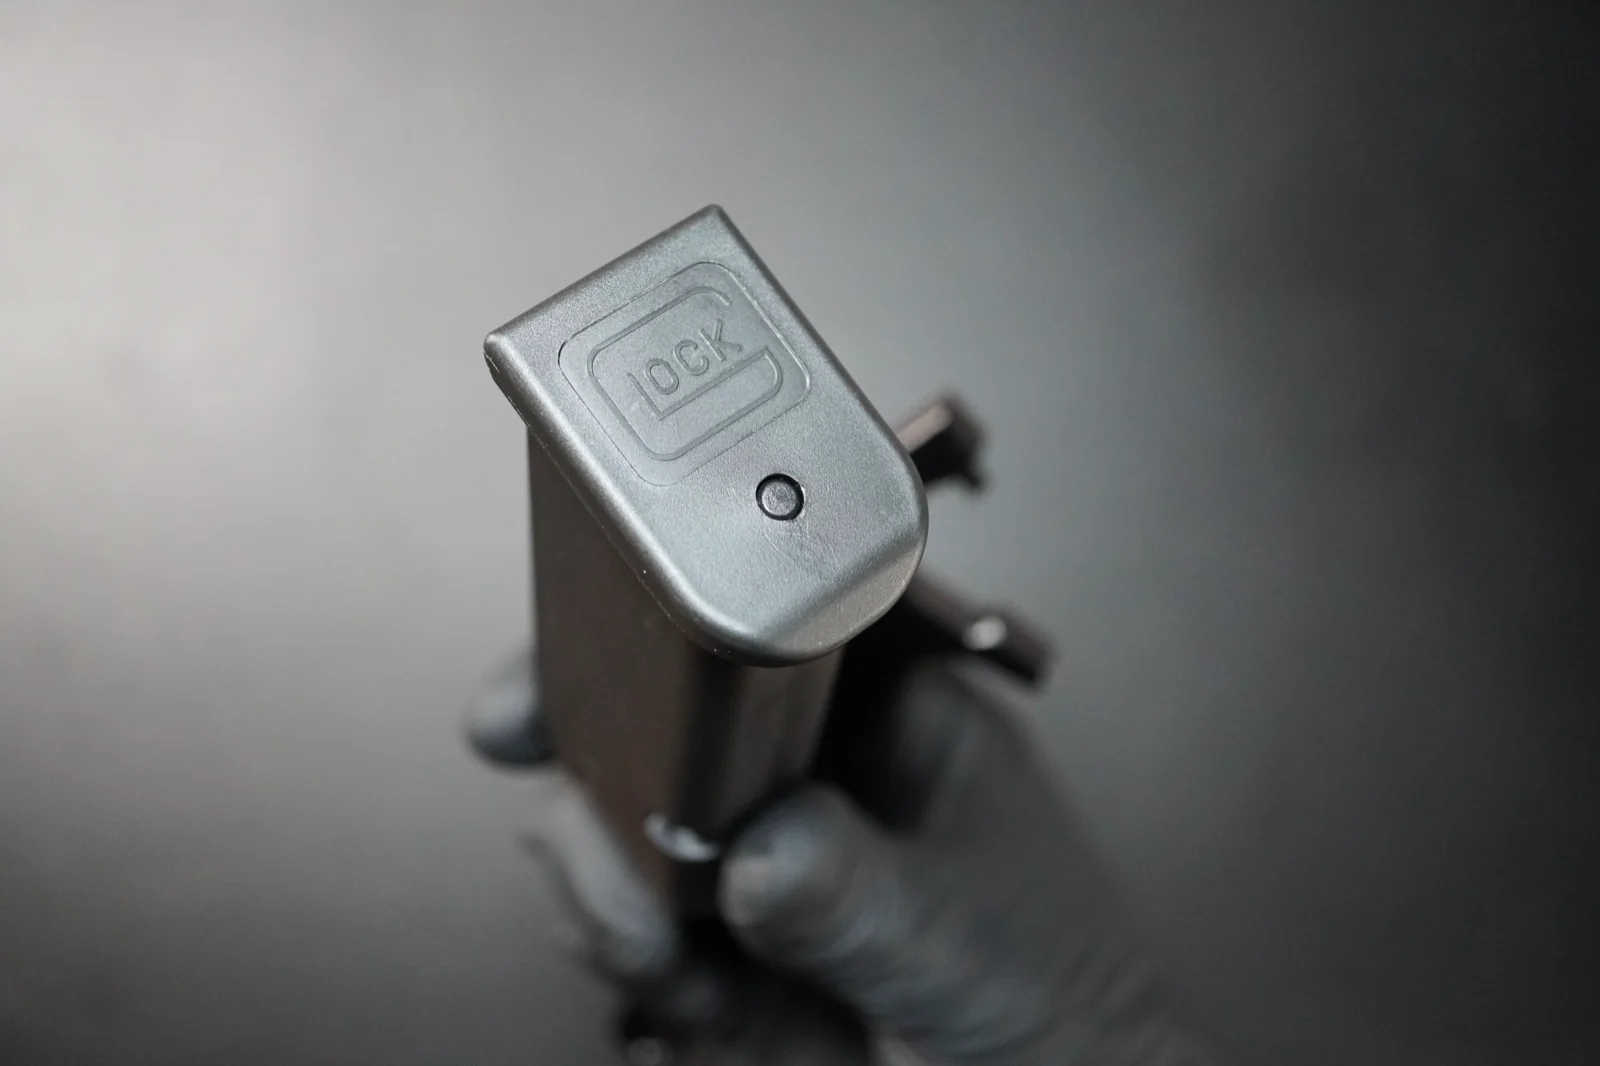
Step 2. Look at the bottom of the magazine and find the small hole in the floor plate. That hole gives the tool access to the insert.
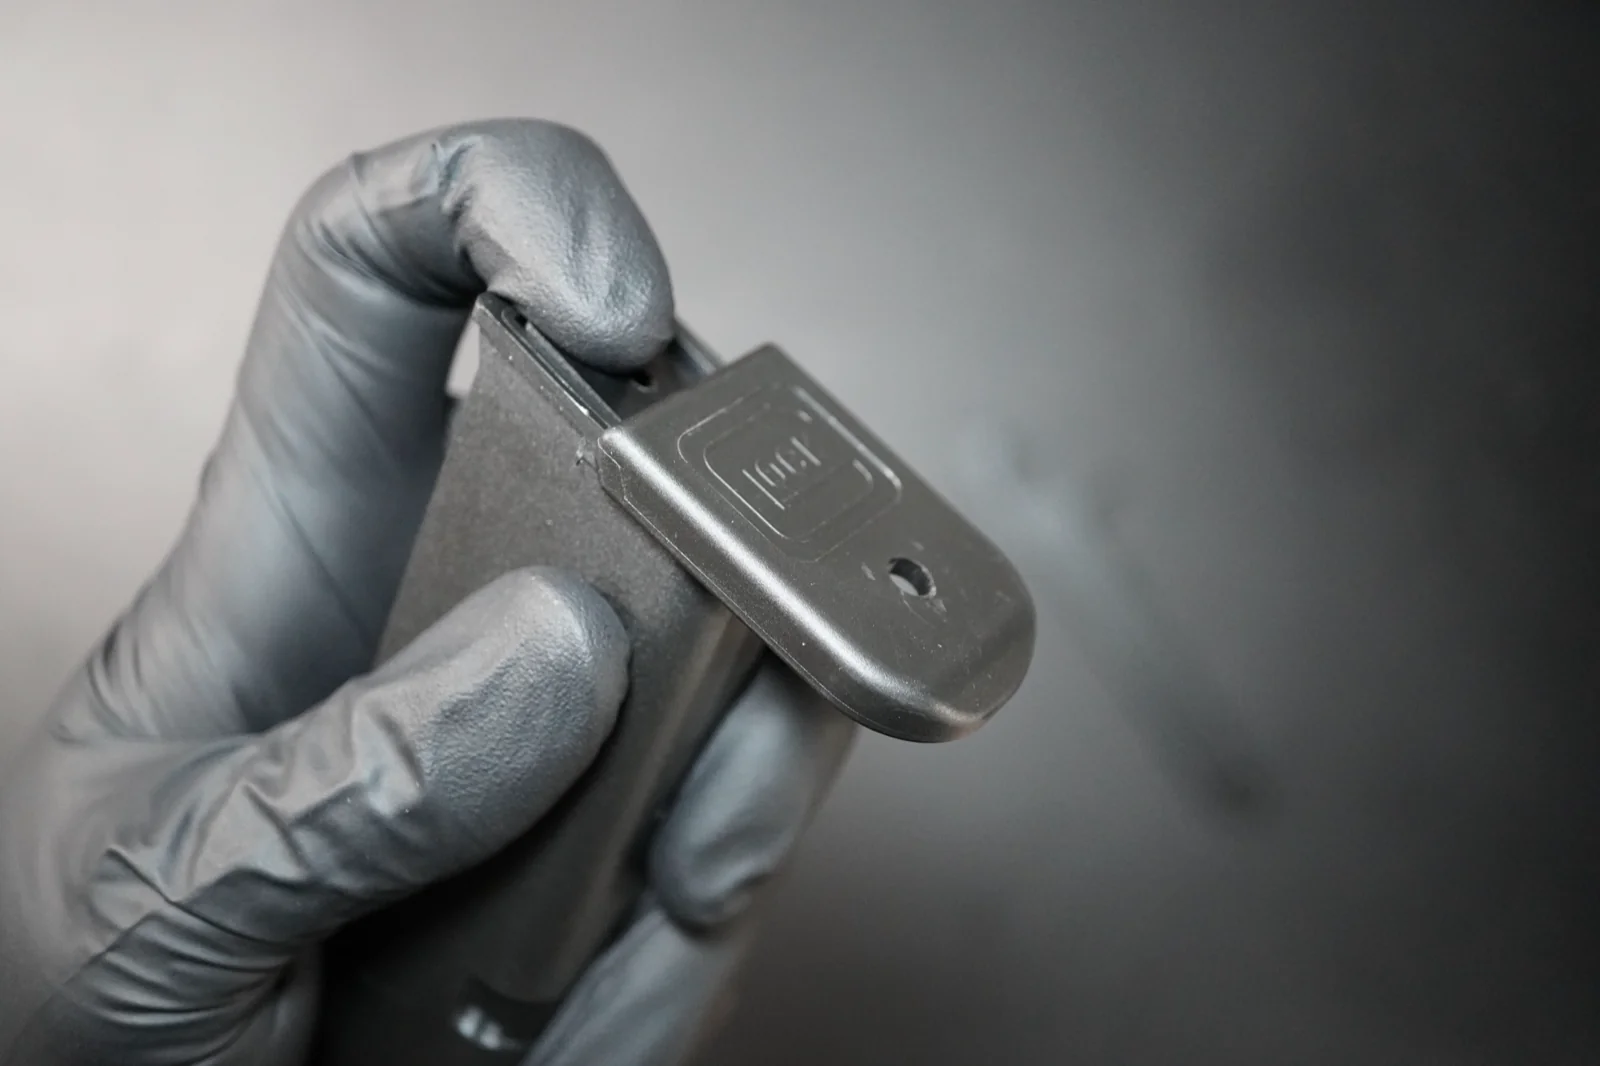
Step 3. Press the insert down through the hole using a Glock magazine tool, punch, or non-sharp dowel.
Push firmly and keep the tool straight. New magazines fit very tightly — this usually takes more pressure than beginners expect.
Step 4. While the insert is depressed, slide the floor plate forward — not upward — off the magazine body.
Keep your thumb over the back of the floor plate so the spring doesn't pop the insert out as the rails clear.
If the floor plate doesn't move:
- Make sure the insert is pressed down far enough.
- Check that you are pushing forward, not prying upward.
- Brand-new magazines are stubborn — expect more pressure.
Step 5. As the floor plate comes free, keep a finger over the spring so the insert doesn't launch out.
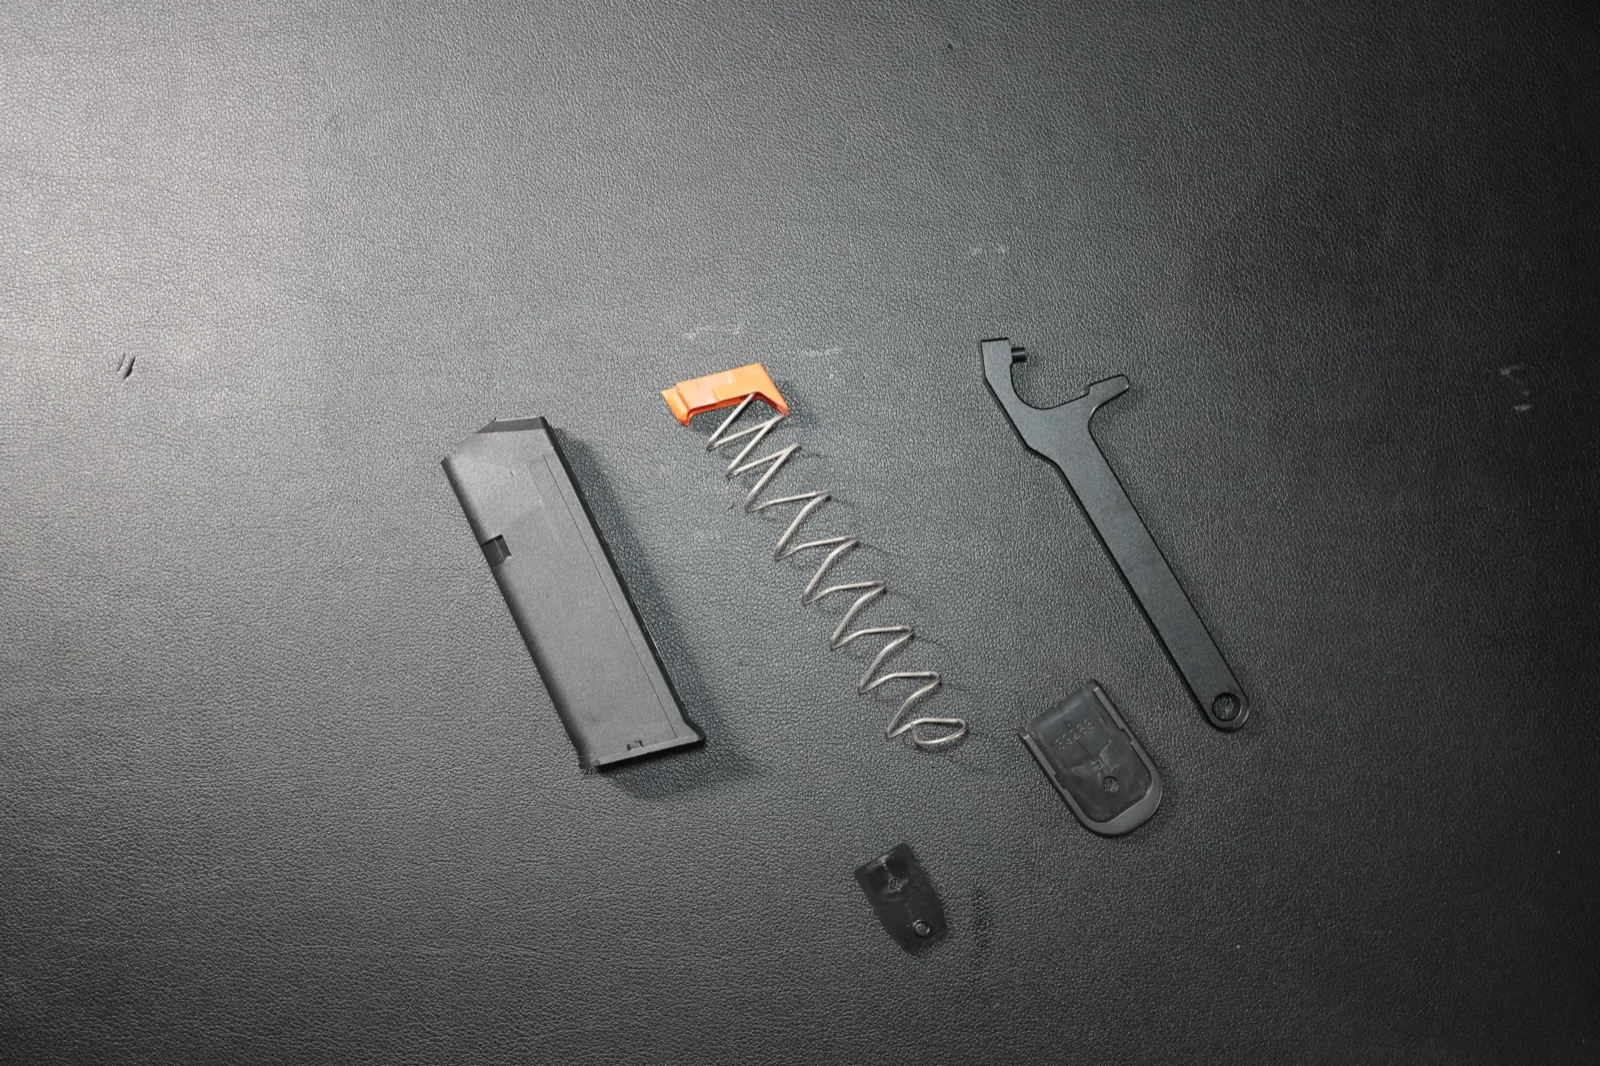
Step 6. Pull the insert and spring out of the magazine body. Keep them oriented the way they came out — that makes reassembly easier.
Step 7. Lift the follower off the top of the spring.
The magazine is now fully disassembled into five parts: body, follower, spring, insert, and floor plate.
Part 3: Reassembly
Step 8. Hook the follower back onto the top of the spring in its original orientation.
Step 9. Feed the follower into the top of the magazine body, with the spring trailing underneath into the body.
Step 10. Place the insert on the bottom of the spring, aligned the way it was when removed.
Step 11. Compress the insert and slide the floor plate back onto the rails. Push it fully forward until you feel or hear the insert snap into the locking hole.
If the floor plate won't seat fully, the insert is usually facing the wrong way or the spring is twisted inside the body. Take it apart and check orientation.
Part 4: Quick Function Check
Step 12. Press the follower down from the top and let it rise back up. It should move smoothly without dragging.
Step 13. Insert the empty magazine into the unloaded pistol and confirm it locks in and drops free when you press the magazine release.
If anything sticks or feels off, take it apart and check orientation before using the magazine.
For factory diagrams and model-specific information, keep GLOCK's downloadable materials page handy. If you're learning the pistol itself too, the Glock 19 field strip guide is the next read.
How many rounds do you have on your Glock?
Your Glock is due for a new magazine spring every 5,000 rounds — but that interval is only useful if you actually know how many rounds you've put through the pistol.
If you don't rotate worn magazine springs, the magazine starts causing failures to feed, the slide may not lock back on the last round, and reloads get unreliable.
Log each practice session in RangeReady and the app keeps a running round count for every firearm you own. When your Glock is approaching 5,000 rounds you'll know it's time to plan the magazine spring replacement — and the same approach works for cleanings and any other wear-part interval you care about.

Download RangeReady to start tracking round counts and maintenance for your Glock. Available on the App Store and Google Play:
Keep reading
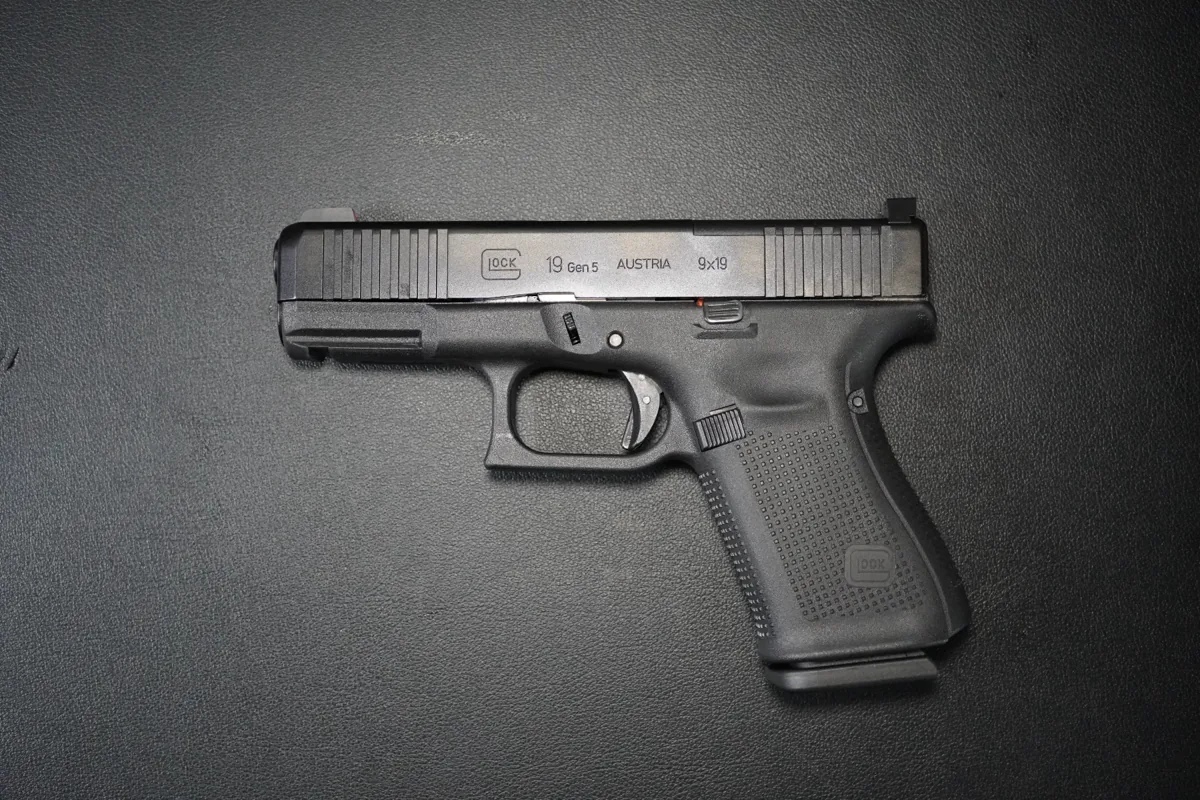
How to Field Strip a Glock 19 (Disassembly & Reassembly Guide)
Step-by-step beginner's guide to field strip and reassemble the Glock 19 — no takedown tool required. The same steps apply to the Glock 17, 19X, 26, and 45.
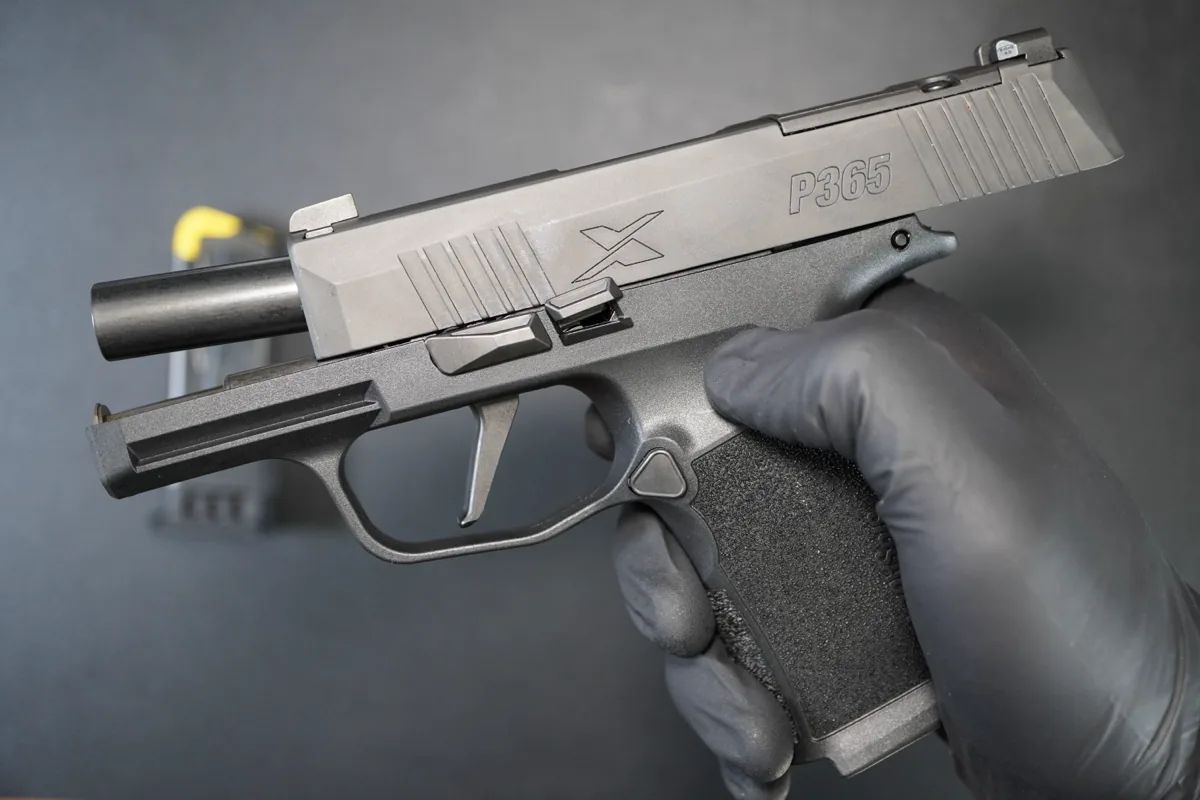
How to Clean & Lubricate Your P365 (Beginner's Guide)
A beginner-friendly guide to cleaning and lubricating the SIG Sauer P365 after field stripping it, based on the operator manual.